A few months before she passed away, my grandma gave me a fanny pack containing a few cameras and asked me to get them developed. Grandma Cook was the queen of disposable cameras. She always seemed to have one at family events. She was also family famous for her candids; all of the sudden she’d say “smile” and she’d snap the photo before you could.
Continue reading “I Bought a Nikon 35TI from Japan”Category: Uncategorized
How big is a 4×6 photo?
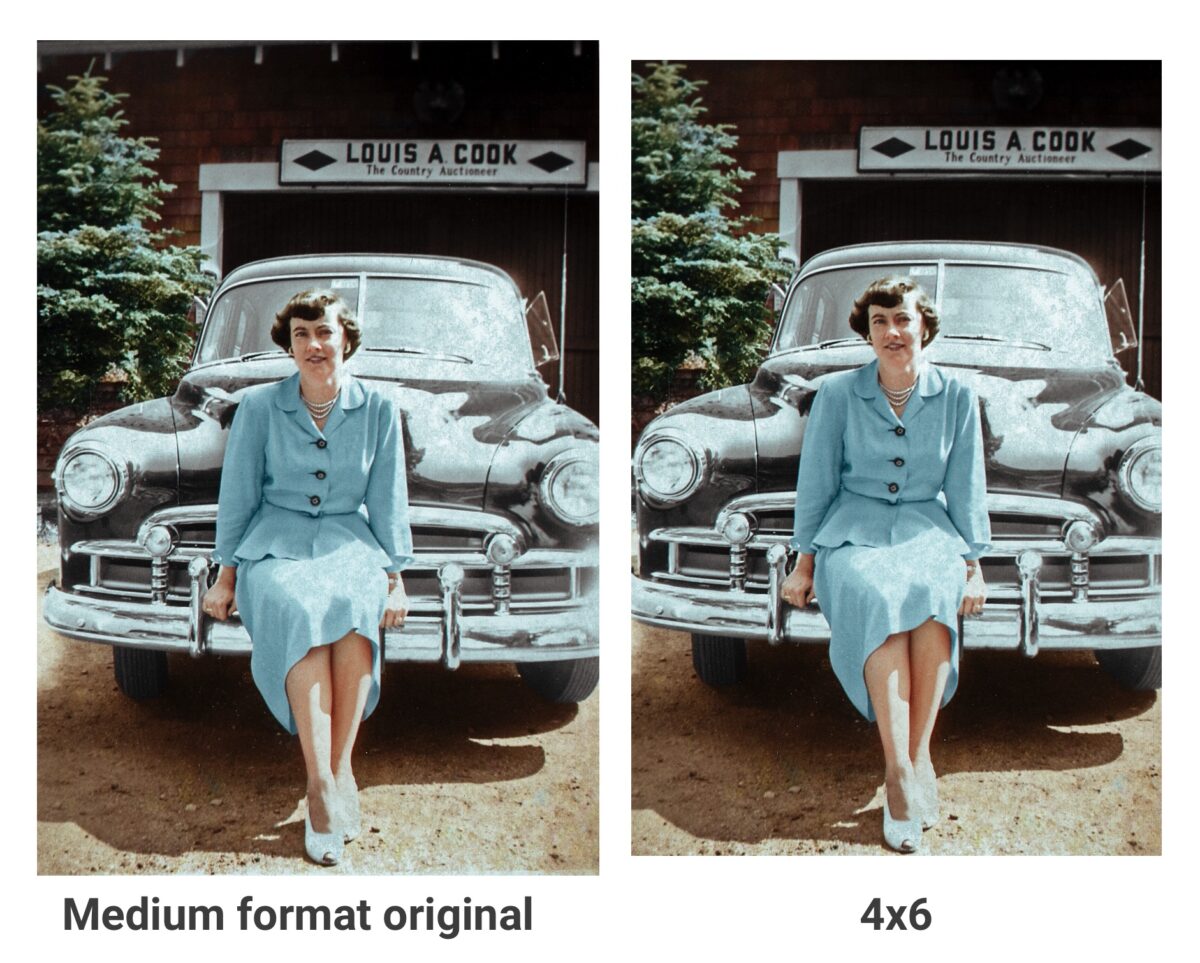
A standard 4×6 photo is basically as it sounds: 4 inches by 6 inches. However, there are definitely some caveats.
Cropping digital photos to fit a 4×6 print
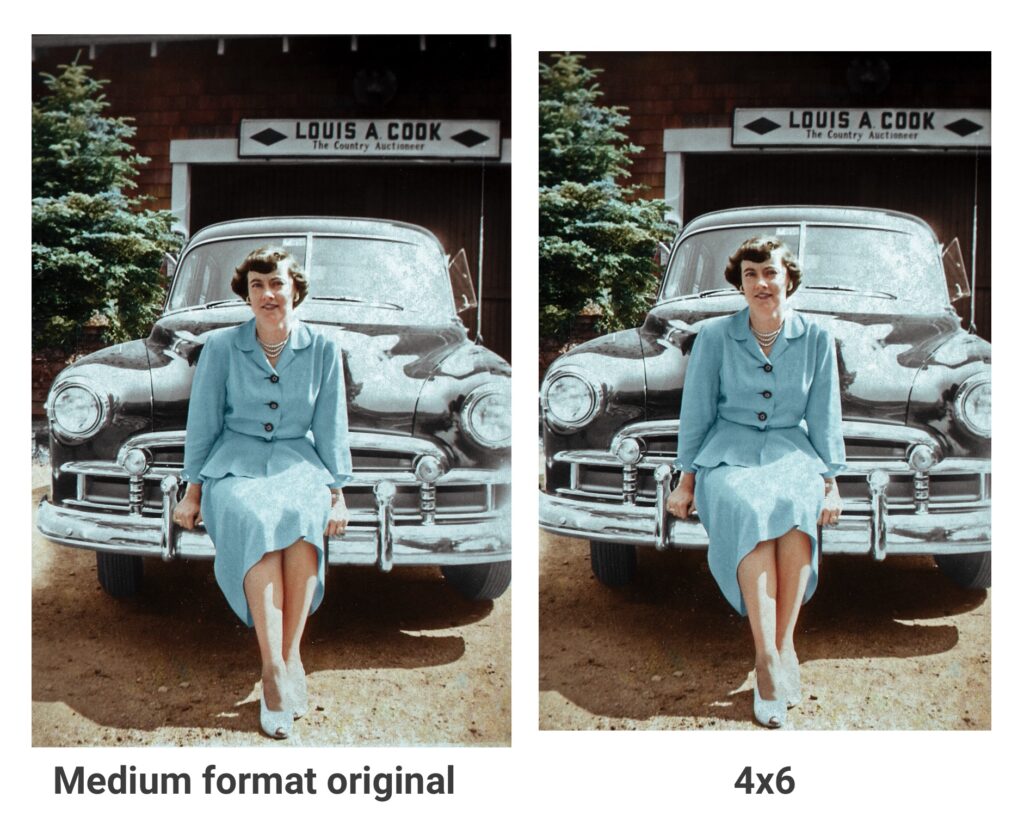
Nearly all modern phone cameras like the iPhone and Android take photos that are a different shape than a 4×6 photo. This means that in most cases, the top, bottom, left or right (or all edges) of your photo has to be cut off in order to make it fit on a 4×6 print.
This idea of a photo’s shape is technically known as its aspect ratio or ratio. The aspect ratio of a 4×6 photo is 3:2.
Why did faces get cut out of the edges of my photos!? ?
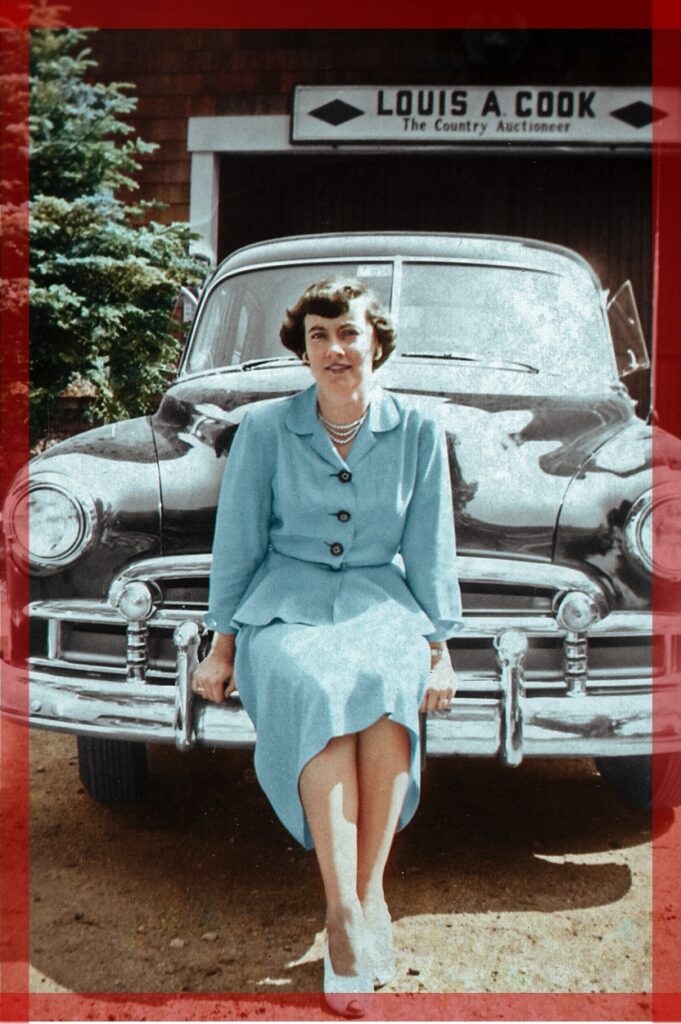
There’s a major gotcha when printing 4×6 photos: Nearly all photo printers cut off an additional 3 millimeters (~0.12 inches) from around the perimeter of your image. This happens at both Walgreens and CVS. This is something that isn’t disclosed when uploading your photo and cropping it on their interfaces, either. It happens just after your photos are printed, when they’re cut by the photo machine! It’s never fun to show up at Walgreens and see everyone’s faces cut off of your photos, which you swear you painstakingly cropped before sending them to print. In general, it’s best to make sure faces and other important objects aren’t close to the edges of your image.
New 4×4 format
In recent years, photo printers have started supporting 4×4 square prints which are 4″x4″. These are a super cool new format that makes it easy to print your Instagram photos.
How to Send 4×6 Photos In the Mail
There’s something special about a printed photo that email, social media, and texting can’t beat. A photo can be displayed all around the home — in frames, the fridge, or in albums — constantly bringing your loved one joy. Mailing printed pictures to a grandparent, parent, or loved one is a beautiful way to say I love you.
Here’s a quick guide on how to mail 4×6 pictures in 6 easy steps.
Sending a regular letter? Check out our guide on how many stamps to use per ounce.
Step 1/6: Print your photos
Walgreens, Walmart, and CVS are a few local retailers who offer 1-hour photo printing. Check out our definitive guide to find local photo labs near you. You can upload your photos online and pick-up in store. Or many of these local printers have kiosks in the store.
Find a local photo lab
Step 2/6: Grab an envelope
Contrary to popular belief, you don’t need expensive photo mailers to mail printed photos. (Unless, of course, you’re mailing one-of-a-kind prints in which case you should scan the originals and send copies instead!) A standard 4×6 picture print can be mailed with a regular envelope. Size A6 (4 3/4 x 6 ½) is the most ideal.
Pro tip: If you use an envelope much larger than A6, you’ll want to add an additional postage as your envelope won’t be a uniform thickness. See what the surcharge is by using the postage price calculator.
Step 3/6: Get stamps
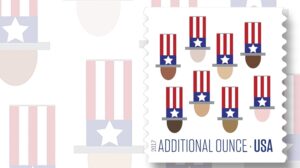
If you’re sending more than 6 photos, you’ll need “additional ounce” stamps. Most people don’t have these readily available at home. You’ll want to make a trip to your local post office to pick some up. You can also order stamps online. Technically you can use a second $0.82 stamp in place of an additional ounce stamp ($0.29), but these added costs add up!
Step 4/6: Add your photos to your envelope & weigh it
In the United States, the maximum weight for a first-class envelope is 3.5 ounces. The first stamp covers the first ounce. You can then buy “additional ounce” stamps for each ounce increment.
A typical 4×6 print is 0.11 ounces. A standard A6 envelope is 0.18 ounces. Using a slightly average envelope weight of 0.25 ounces, here is a general idea of how much your envelope probably weighs.
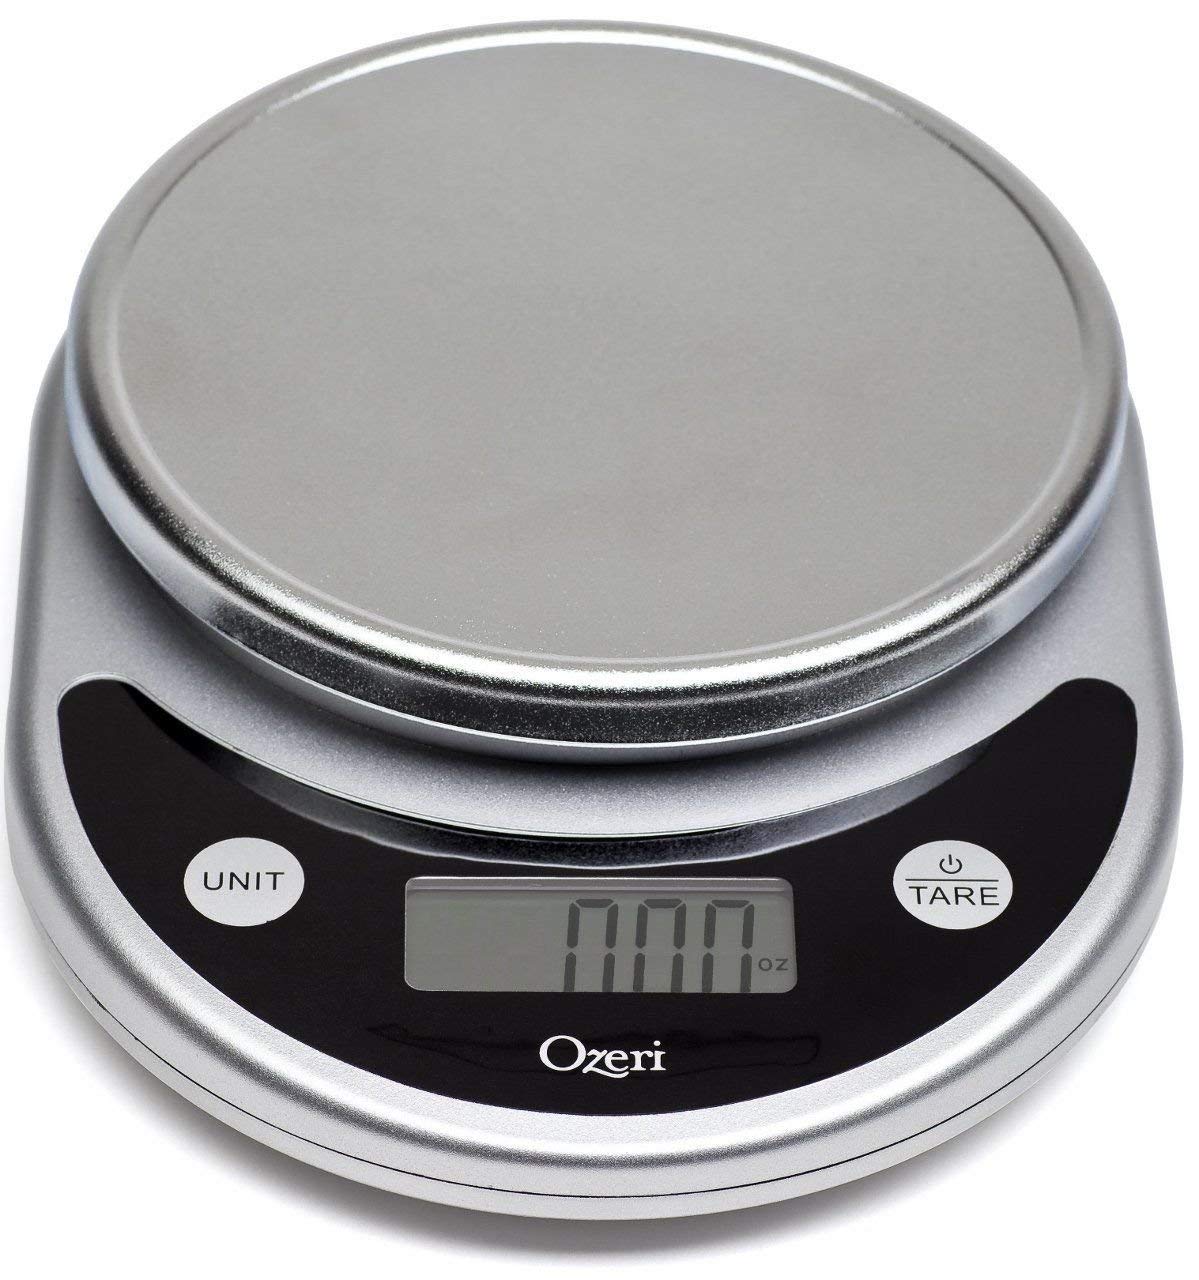
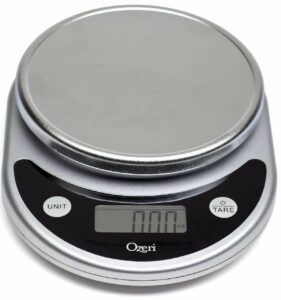
Pro tip: Use a digital kitchen scale to double check the weight of your envelope. Or bring it into a local post office just to be safe.
| Total 4x6 printed photos | Weight | Stamps |
| 1 | 0.36 ounce | 1 ($0.82) |
| 5 | 0.8 ounce | 1 ($0.82) |
| 6 | 0.91 ounce | 1 ($0.82) |
| 7 | 1.02 ounces | 1 + 1 additional ounce ($1.11) |
| 9 | 1.24 ounces | 1 + 1 additional ounce ($1.11) |
| 11 | 1.46 ounces | 1 + 1 additional ounce ($1.11) |
| 13 | 1.68 ounces | 1 + 1 additional ounce ($1.11) |
| 15 | 1.9 ounces | 1 + 1 additional ounce ($1.11) |
| 17 | 2.12 ounces | 1 + 2 additional ounces ($1.40) |
| 19 | 2.34 ounces | 1 + 2 additional ounces ($1.40) |
| 21 | 2.56 ounces | 1 + 2 additional ounces ($1.40) |
| 23 | 2.78 ounces | 1 + 2 additional ounces ($1.40) |
| 25 | 3 ounces | 1 + 2 additional ounces ($1.40) |
We used photo paper that’s on the heavier side. Most photo printers use a thinner paper. When in doubt, weigh your envelope!
Step 5/6: Add correct postage
Add the correct postage based on your number of photos.
- You can send up to 6 photos with 1 first-class stamp ($0.82).
- 7 photos will need 1 stamp plus an additional ounce stamp as it’s just over the 1 ounce limit for a single stamp.
- 15 photos uses the same amount of postage as a 7-photo envelope.
- 21 photos will need 1 stamp and 2 additional ounce stamps for a total cost of $1.40.
Step 6/6: Double-check thickness
The USPS has strict thickness rules with a max total envelope thickness of 0.25″. But don’t worry, we checked it: You can safely mail an envelope containing up to 25 photos and still be under the thickness limit.
Our test photos are on the thicker side. Depending on where you have your photos printed you may be able to squeeze a few more photos in your envelope.
Mail your photos!
Your photos can be safely sent by dropping them into a street side mailbox or similar. If you didn’t double-check the weight at home, you may want to go to a local post office to have them check the weight and postage before shipping.
Use NanaGram to Mail Photos
Check out NanaGram, a service that helps you send printed photos in the mail by just responding to a text message reminder or email each month! It’s perfect for sending photos to parents and grandparents around the world.
Shipping more than 25 photos? Use Priority Mail or Ship First Class at the Post Office
If you’re shipping more than 25 photos, consider a special photo envelope to protect the photos and shipping them with Priority Mail instead. You can also get another type of First-Class mail at your local post office to handle shipments larger than 3.5 ounces.
Alternatively, you can also put your photos in a “flat” — a large envelope which allows you to send up 16 ounces. You can read more about that here on our blog. When sending 4×6 photos, your flat won’t be uniform thickness. Be sure to add the correct surcharge postage.